Backyard Bird Photography for Beginners
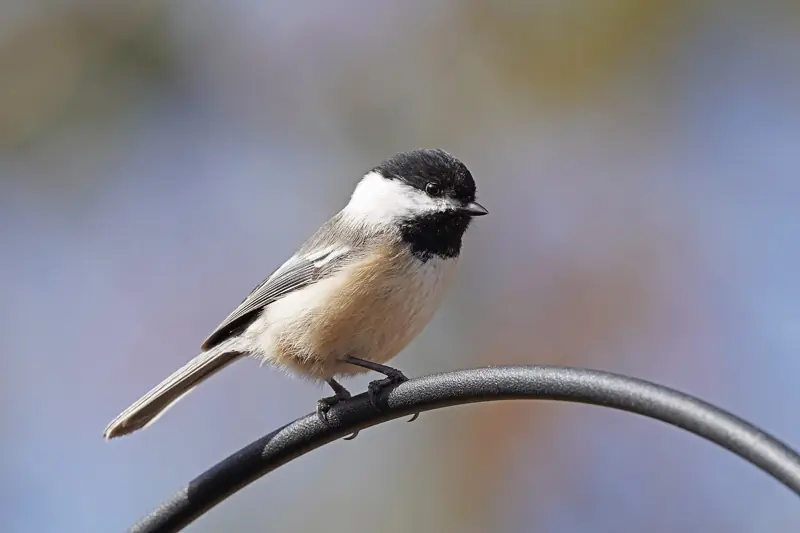
Your feeder brings birds to a predictable spot. Good light, a fast shutter and a natural perch do the rest.
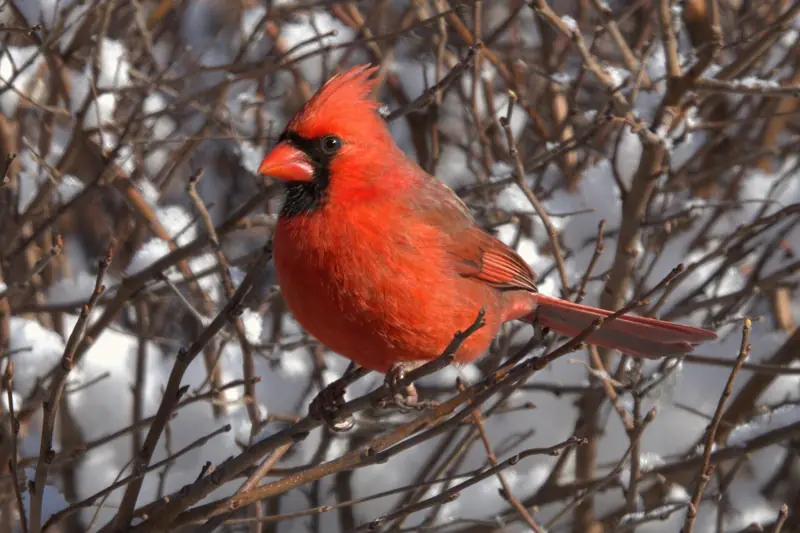
Backyard bird photography has an enormous advantage over field photography: your subjects come to a predictable spot, repeatedly, on a schedule. Your feeder is essentially a controlled photography studio where you know exactly where the bird will be. You don’t need expensive gear to use that advantage. Three things account for most of the difference between blurry and sharp feeder photos: light direction, shutter speed and focus mode.
The Single Biggest Factor: Light
Get this wrong and no camera will save you. Get it right and almost any camera will produce usable images.
You want the sun behind you and in front of the bird. Birds photographed in direct sunlight facing the camera show every feather detail; the same bird in backlight or shade is a silhouette or a muddy mess. This means your feeder’s optimal photography direction is roughly east-facing in the morning (sun rises behind you) and west-facing in the afternoon.
The first couple of hours after sunrise and before sunset give warm, low, directional light that brings out plumage color. Feeders are often busiest in the early morning anyway. Bright overcast days are also forgiving because the soft light has no harsh shadows. Harsh midday sun is the hardest light to work with.
Camera Settings That Matter
If you’re using a phone camera, skip ahead to the section below. For a DSLR or mirrorless camera, these three settings determine whether you get a sharp image or a blur:
Shutter Speed
Birds move. Even a stationary bird at a feeder will turn its head or twitch in a fraction of a second. You need a fast shutter to freeze that motion. Start at 1/800th of a second as your minimum; 1/1250 or faster for action shots. In good light this is easy; in shade you’ll need to compensate by raising ISO.
Autofocus Mode
Use continuous autofocus (called AI Servo on Canon, AF-C on Nikon and Sony). This mode tracks a moving subject as you hold the shutter half-pressed, keeping focus as the bird shifts. Single-point autofocus aimed at the bird’s eye gives the sharpest results once you’re comfortable.
ISO
Don’t be afraid to push ISO to 800 or 1600 to maintain shutter speed in lower light. A slightly grainy image of a sharp bird is far better than a noise-free image of a blur. Most recent cameras produce usable results at ISO 1600 or higher, and noise reduction software helps further.
Shooting with a Smartphone
The honest truth: your phone camera is probably good enough for satisfying feeder photos, especially if the bird is within 15–20 feet and the light is good. A few things that help:
- Tap to focus on the bird before shooting — don’t let the phone decide what to focus on
- Use burst mode (hold the shutter button on most phones) and pick the sharpest frame; birds are unpredictable and burst shooting is free
- Avoid digital zoom — it degrades image quality significantly; get physically closer or use a spotting scope adapter instead
- Shoot in portrait mode with selective focus for feeder perch shots — the blurred background separates the bird from visual clutter beautifully
- Use the volume button or a Bluetooth shutter remote to trigger the shutter without touching the screen, which introduces shake
Setting Up Your Feeder for Photography
Your feeder placement for photography may differ slightly from optimal placement for bird traffic. A few adjustments serve both:
- Add a natural perch — a branch, stump, or wooden stake near the feeder gives birds a staging perch before they land on the feeder itself. These perch shots, with a natural-looking background, are often more striking than shots of birds gripping a metal feeder
- Manage the background — position the feeder so that what’s behind it (from your shooting angle) is distant greenery, not a fence or wall; the further the background from the subject, the softer and more pleasing the blur
- Control distance — for phone shooting, try to get within 10–15 feet; for a DSLR with a 300mm+ lens, 20–40 feet is plenty
- Shoot from indoors — birds habituated to a feeder will often continue feeding through a window if you move slowly. Shooting through an open window from a beanbag or window-mount rest keeps you hidden and steady. Shooting through closed glass costs sharpness and adds reflections
Gear Worth Considering (Without Breaking the Budget)
If you want to upgrade beyond a phone, here’s what actually makes a difference at each price point:
- Entry level: an older or used entry-level DSLR or mirrorless body with a 70–300mm zoom handles feeder distances well. The main limit is low-light performance.
- Step up: a 100–400mm or 150–600mm class zoom gives more reach and softer backgrounds. This is where feeder photography gets much easier.
- Superzoom bridge cameras: one body with a long built-in zoom. Convenient and lighter, but weaker in dim light than larger sensors.
- Phone add-ons: a digiscoping adapter clamps your phone to binoculars or a spotting scope. Results vary, but it adds reach for birds sitting still.
- Small helpers: a window-sill beanbag, a Bluetooth shutter remote and a tripod make long sessions easier.
Good binoculars are worth having even if you photograph birds. See binoculars and field guides in our backyard birds guide.
Using a smart feeder as a scouting tool
A camera feeder records visits while you’re away, so it can show which species come and at what time of day. That tells you when to be at the window with a real camera. Built-in feeder cameras have small sensors and fixed wide lenses. They are good for documenting and identifying visitors but can’t replace a camera with a telephoto lens. Compare models in our best smart bird feeders guide.
One Last Thought: Patience is the Technique
Wildlife photographers tend to agree on one thing: the images that look effortless took the most sitting. Set up your position, get comfortable, stay still, and wait for the bird to give you a moment. A cardinal turning to face you dead-on with perfect light and an open bill — that image exists somewhere in the next ten minutes at your feeder. You just have to be there when it happens.
If you want to identify the birds you’re photographing, use our Bird ID Helper — describe what you saw (or what you photographed) and get possible matches plus the field marks to confirm them. And if you’re new to backyard birding generally, the beginner’s guide to identifying backyard birds covers the five field marks that make ID much faster.
Keep exploring
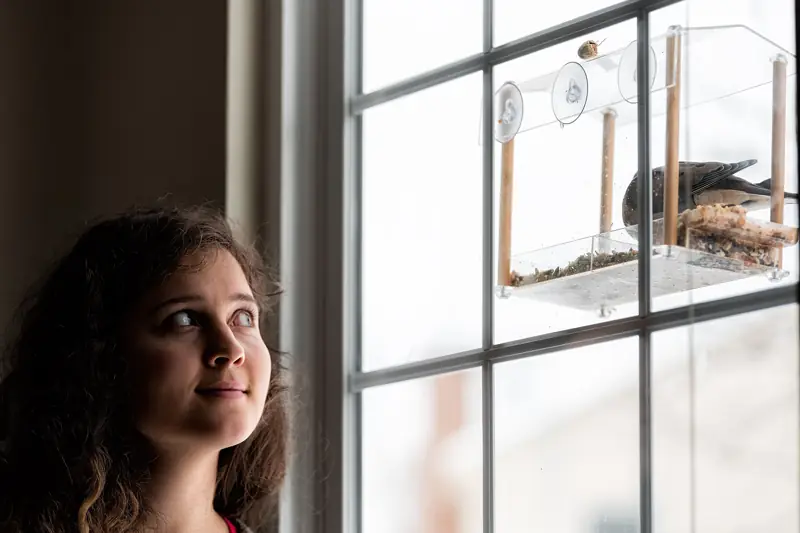
Best Smart Bird Feeders: Birdfy, Bird Buddy & More Compared
Birdfy, Bird Buddy and alternatives compared by camera, power, AI and subscription, with picks by use case.
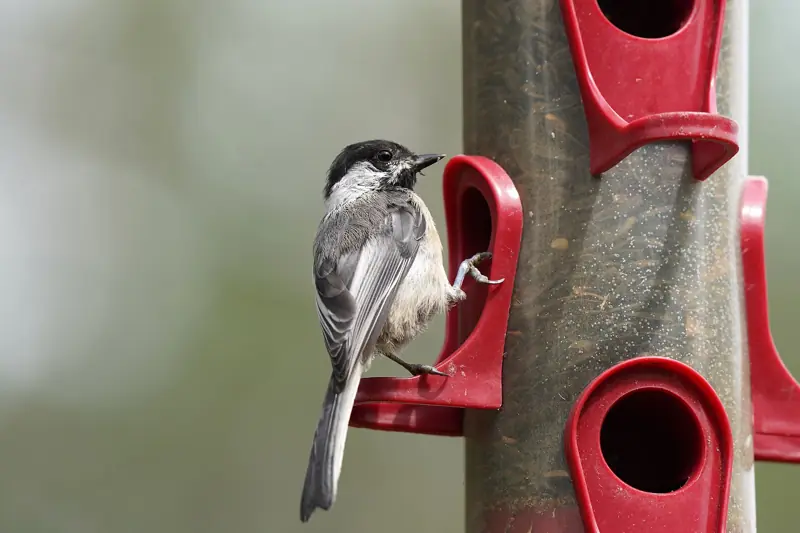
Smart Bird Feeder Buying Guide
Camera, power, Wi-Fi, AI, storage and subscriptions: the specs that matter and how to compare total cost.
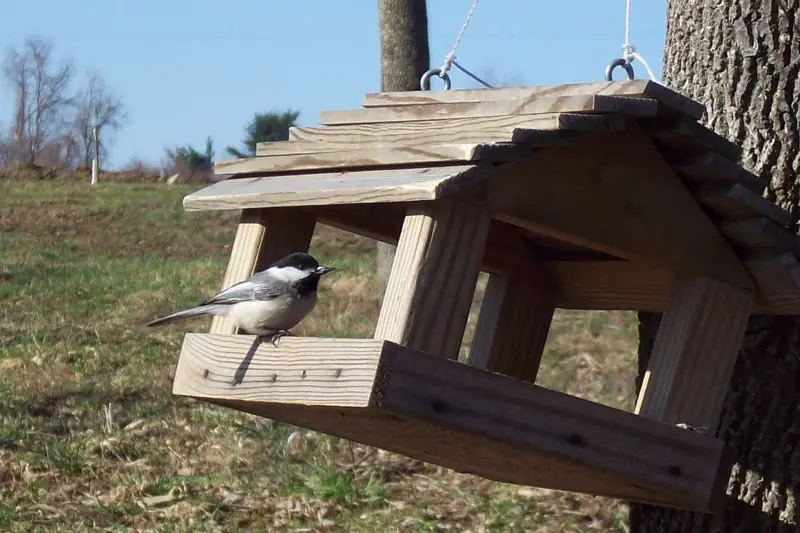
Bird Feeder Placement Guide: Where to Hang Your Feeders
Distance from cover, the 3-foot/30-foot window rule, height by feeder type and squirrel clearance.
How to Identify Backyard Birds: A Beginner’s Guide
Size and shape, color pattern, behavior, habitat and sound: the framework that makes bird ID click.
Backyard Birds: Identify Them and Learn What They Need
Identification basics plus a quick reference to what common backyard birds eat and need.
Bird Feeder Placement Calculator
Window distance, cover, cats, squirrels and feeder type become a placement zone and mounting height.